Business tips
Create, share, get paid: A complete guide to Payment Links.

News
Payment Links, one of the latest new features in Payments Hub, allows merchants to easily create and share unique links to collect customer payments.
Available with the Payments Hub Premium Plus plan, Payment Links provides business owners with another online payments tool that they can plug in where they see fit — whether that’s embedding a button on a website, sharing on social media, sending a link via text or email, or adding a QR code to newsletters, flyers, or merchandise.
Linking to a customized payment page is a simple solution for a variety of use cases.
- Associations or organizations that collect monthly dues or membership costs.
- Nonprofits holding fundraisers or seeking donations to support important causes.
- Contractors, entrepreneurs, and small business owners who may want to offer a general, multi-use payment option for their customers.
Setting up payment links.
When it comes to Payment Links, it really is as easy as 1, 2, 3.
- Log in to your Payments Hub account, navigate to the Payment Links page, and click “Create.”
- Here, you can set up your customized payment page with required and optional details, such as title, description, image, payment type (fixed amount, multiple amounts, or open ended), and custom fields, such as shipping information, special requests, personal notes, and redirect URLs for after submission.
- Preview your payment link to see what it will look like from a customer’s perspective, and once finished, click “Create Link” to publish your link.
- Select how you’re going to share your payment link: download a QR code to share online or in-person, embed your link as a payment button on your website, or share the payment link URL in an email or text message. You can always choose another sharing option later from the payment link details.
Using payment links.
When customers access your payment link they will follow a few simple steps to submit their payment.
- First, customers choose or enter a payment amount (depending on the payment type that was selected).
- Then, they enter credit card information, email address, and/or phone number, and click the pay button when finished.
- A confirmation message then appears and their receipt is sent to the contact information they provided.
Managing payment links.
All active and inactive payment links are listed in Payments Hub, displayed with their title, type, creation date, amount, number of uses, and volume generated.
Click “View Transactions” from the payment link details panel to see a list of the individual payments submitted through that link. A link can be deactivated here as well.
The possibilities are endless with Payment Links. For additional information on Payment Links or any feature in Payments Hub, be sure to check out our help articles.
Ready to create your first payment link? Get started today.
Start your Payanywhere account.
Start your Payanywhere account.
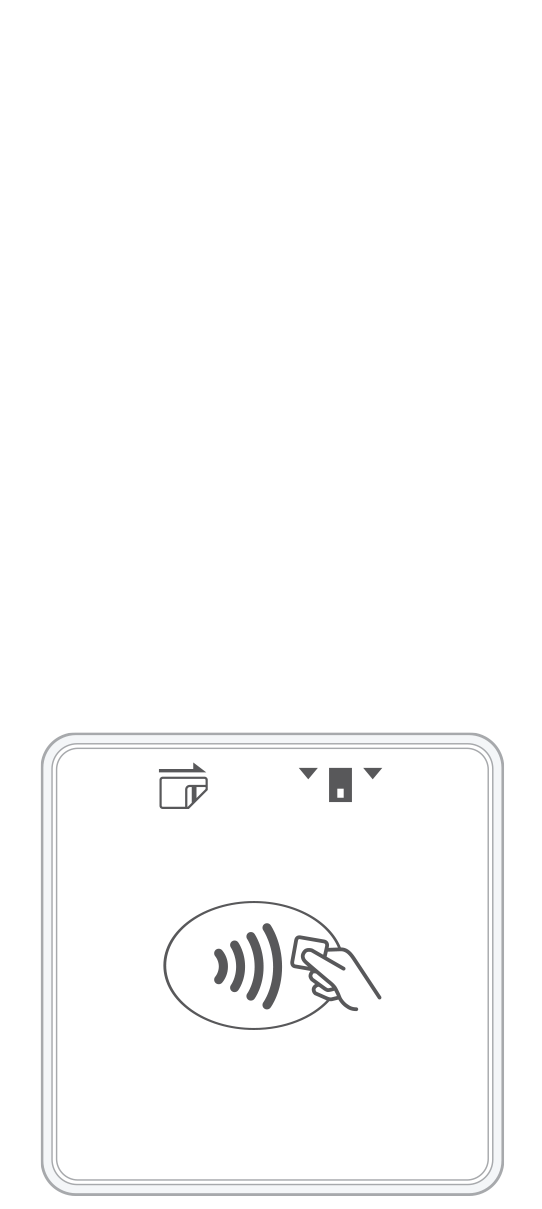 3-in-1 Reader | 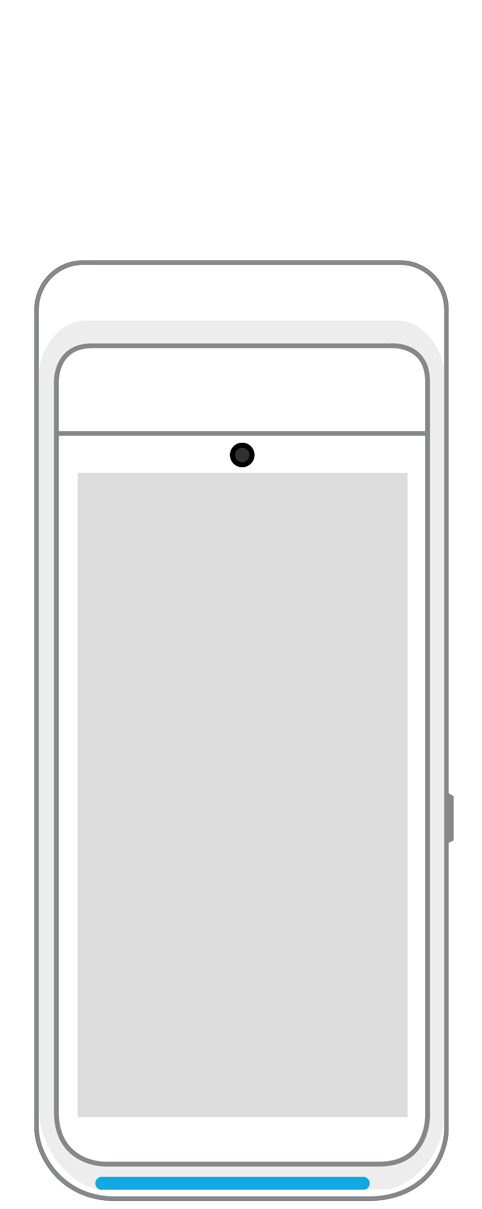 Terminal | 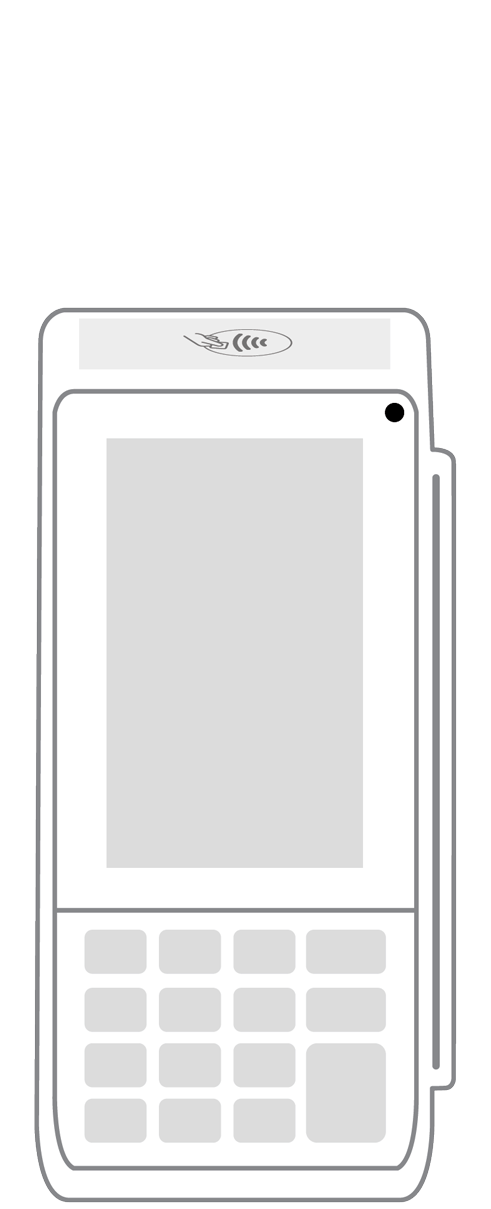 Keypad | 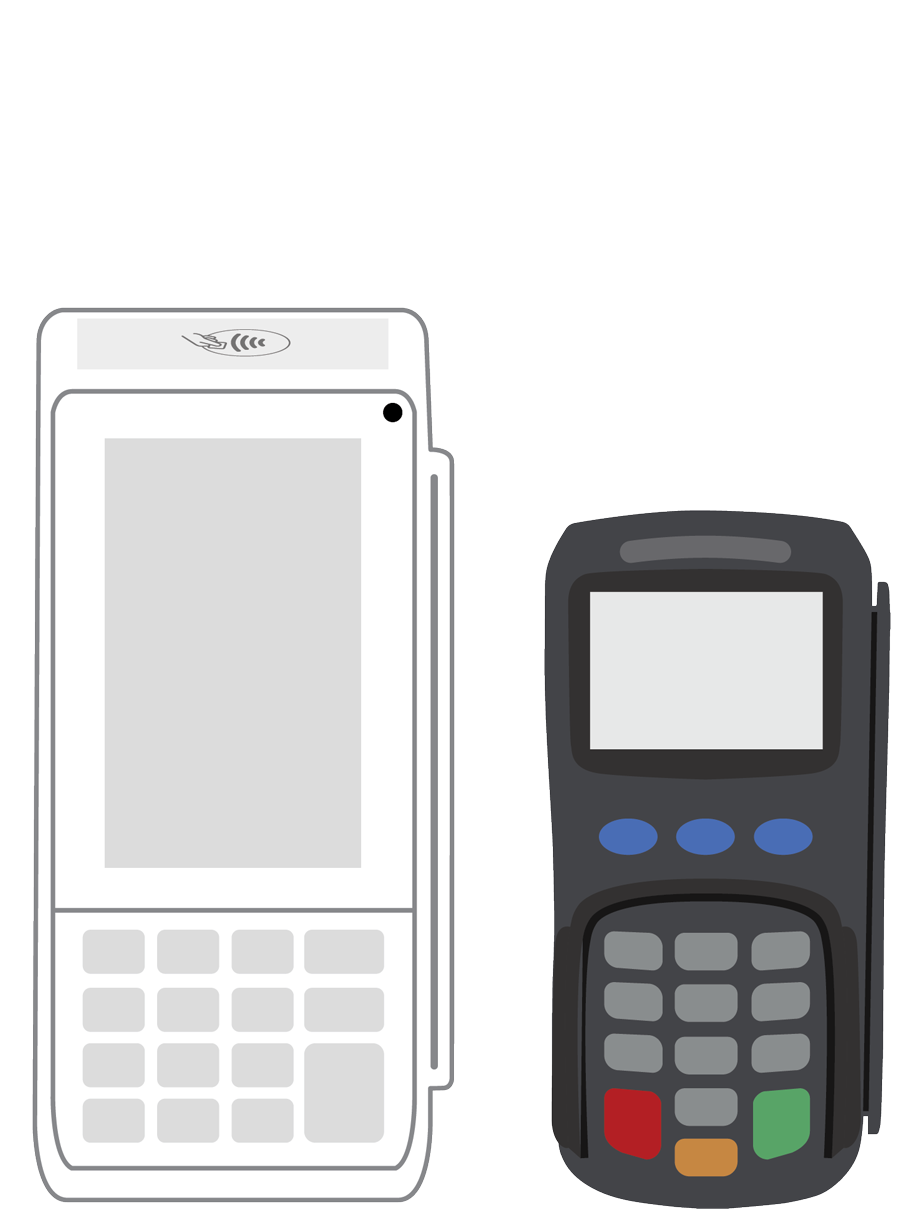 PINPad Pro | 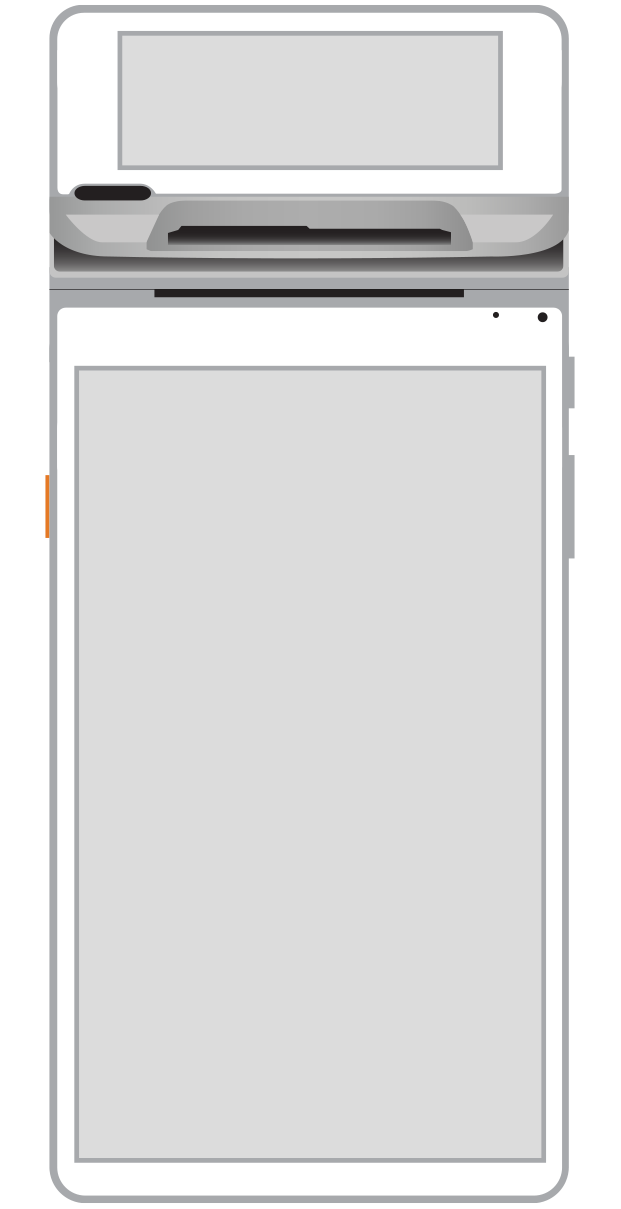 Flex | 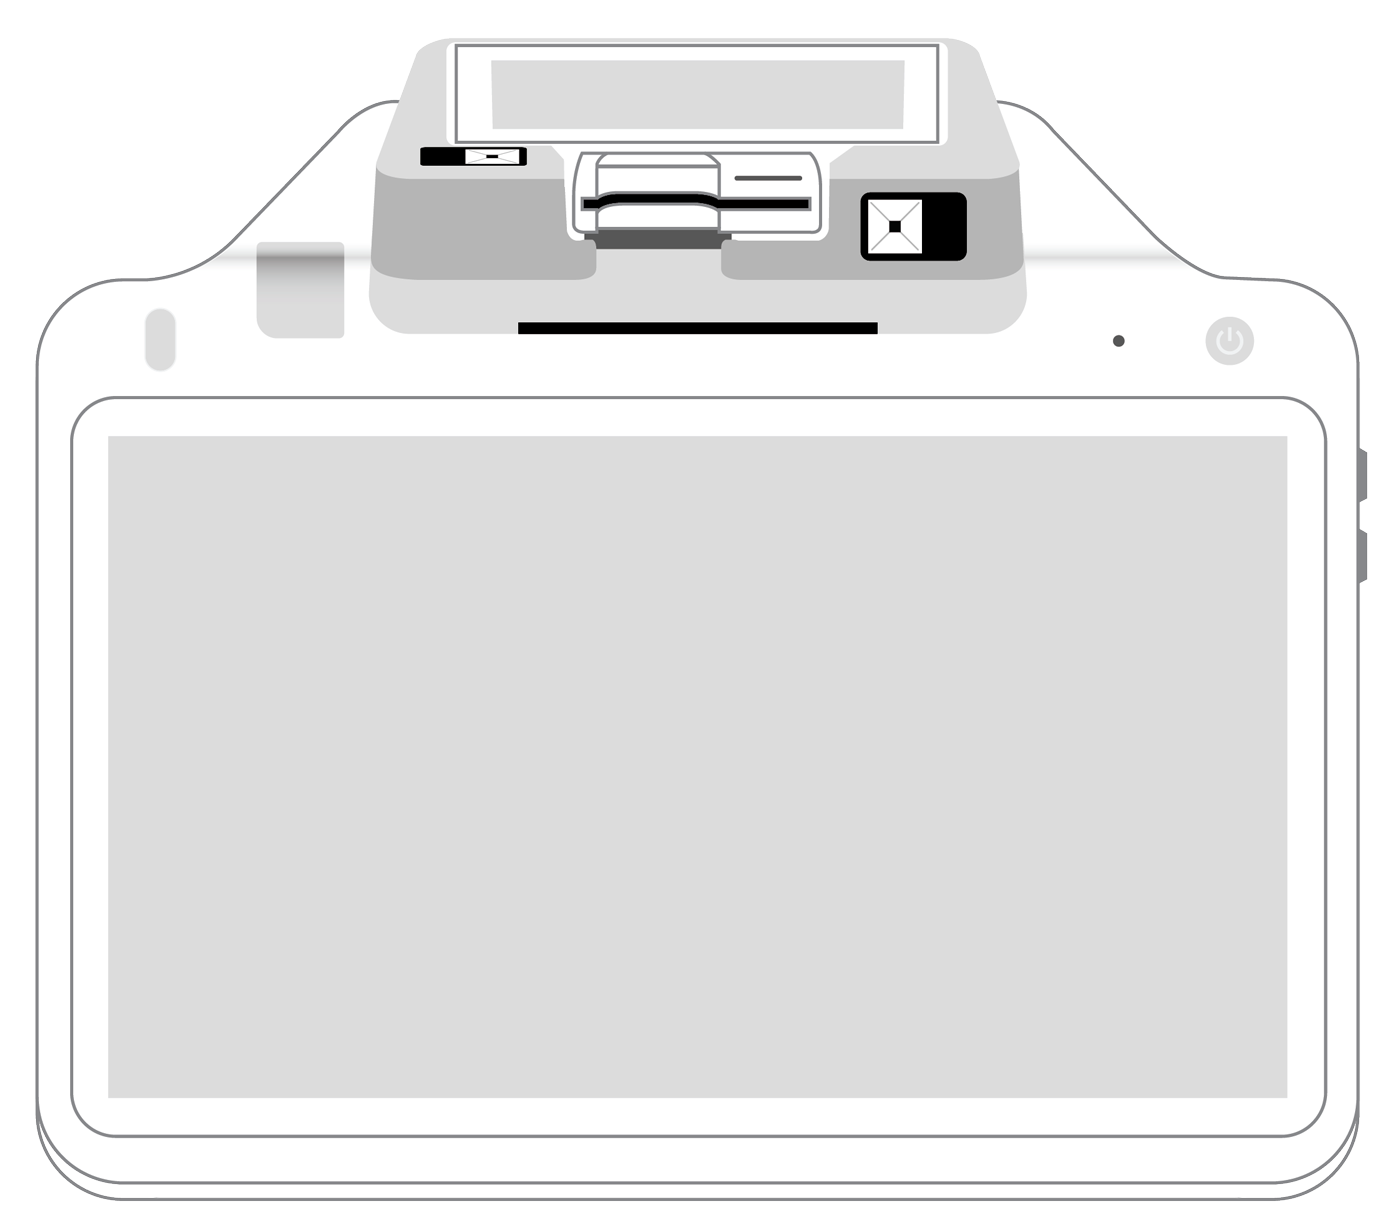 POS+ | |
|---|---|---|---|---|---|---|
Payment types | ||||||
EMV chip card payments (dip) | ||||||
Contactless payments (tap) | ||||||
Magstripe payments (swipe) | ||||||
PIN debit + EBT | ||||||
Device features | ||||||
Built-in barcode scanner | ||||||
Built-in receipt printer | ||||||
Customer-facing second screen | ||||||
External pinpad | ||||||
Wireless use | ||||||
Network | ||||||
Ethernet connectivity | With dock | |||||
Wifi connectivity | ||||||
4G connectivity | ||||||
Pricing | ||||||
Free Placement | ||||||