News
PayAnywhere Inside 5.0 - Run Your Business

News
With all of the great features we’ve thrown at you recently, we thought it would be a good idea to walk you through each section of the revamped PayAnywhere Inside. In the Business section of PayAnywhere Inside you are able to manage your employees, view important customer information, and keep track of your transactions. Learn step-by-step how to use this section below.

Employees - Create and edit employees and assign roles based on permission level. As the Business Principal, you are an Administrator by default.
- Search - Enter a cashier’s name, email, or phone to filter results.
- Add button - Create a new employee.
- Role filter - View all employees or filter to a single role.
- Details - View name, contact information, and role.

Customers - View and export a list of your customers.
- Search - Enter a name, email, or phone to filter results.
- Export - Enter a name, email, or phone to filter results.
- Add button - Create a new customer.
- Details - View name and contact information.

Transactions - View and share your transactions.
- Search - Enter a card number, date, customer, or invoice number to filter results.
- Date range - Pick from convenient preselected periods or create a custom range.
- Options - Email, SMS, or print a receipt.
- Filter - View all transactions or filter by sale, pre-auth, refund, or void.
- Details - View date and time, invoice number, payment method, employee, customer, and purchases.
Log in to PayAnywhere Inside and get to work!
Start your Payanywhere account.
 |  |  |  |  |  | |
|---|---|---|---|---|---|---|
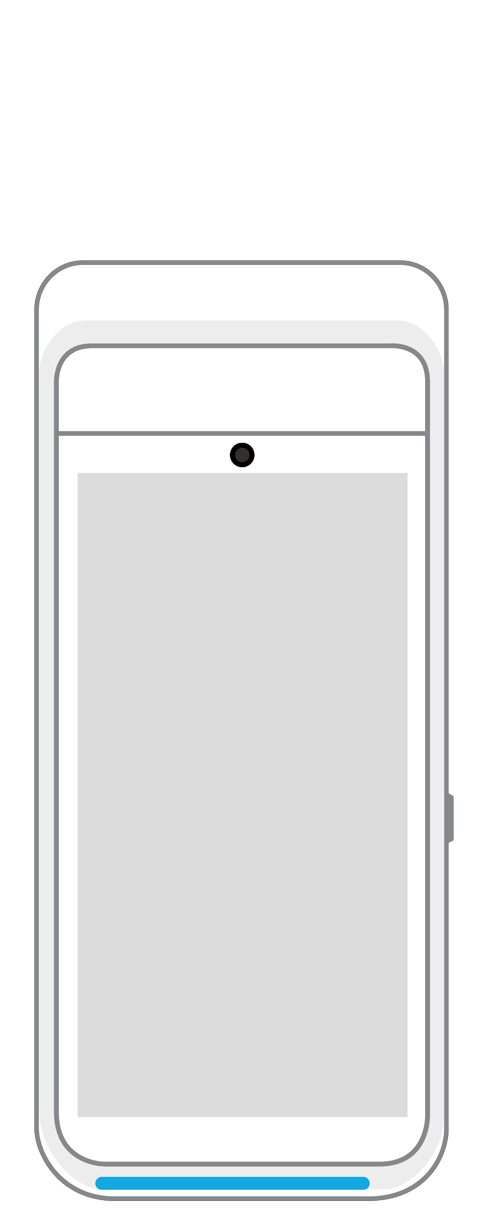
Payment types | ||||||
EMV chip card payments (dip) | ||||||
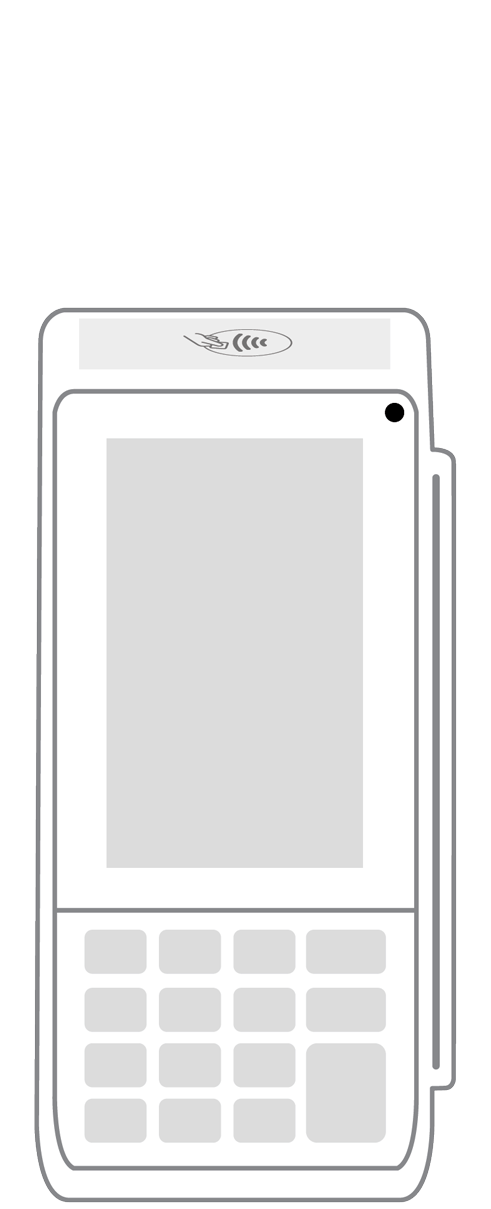
Contactless payments (tap) | ||||||
Magstripe payments (swipe) | ||||||
PIN debit + EBT | ||||||
Device features | ||||||
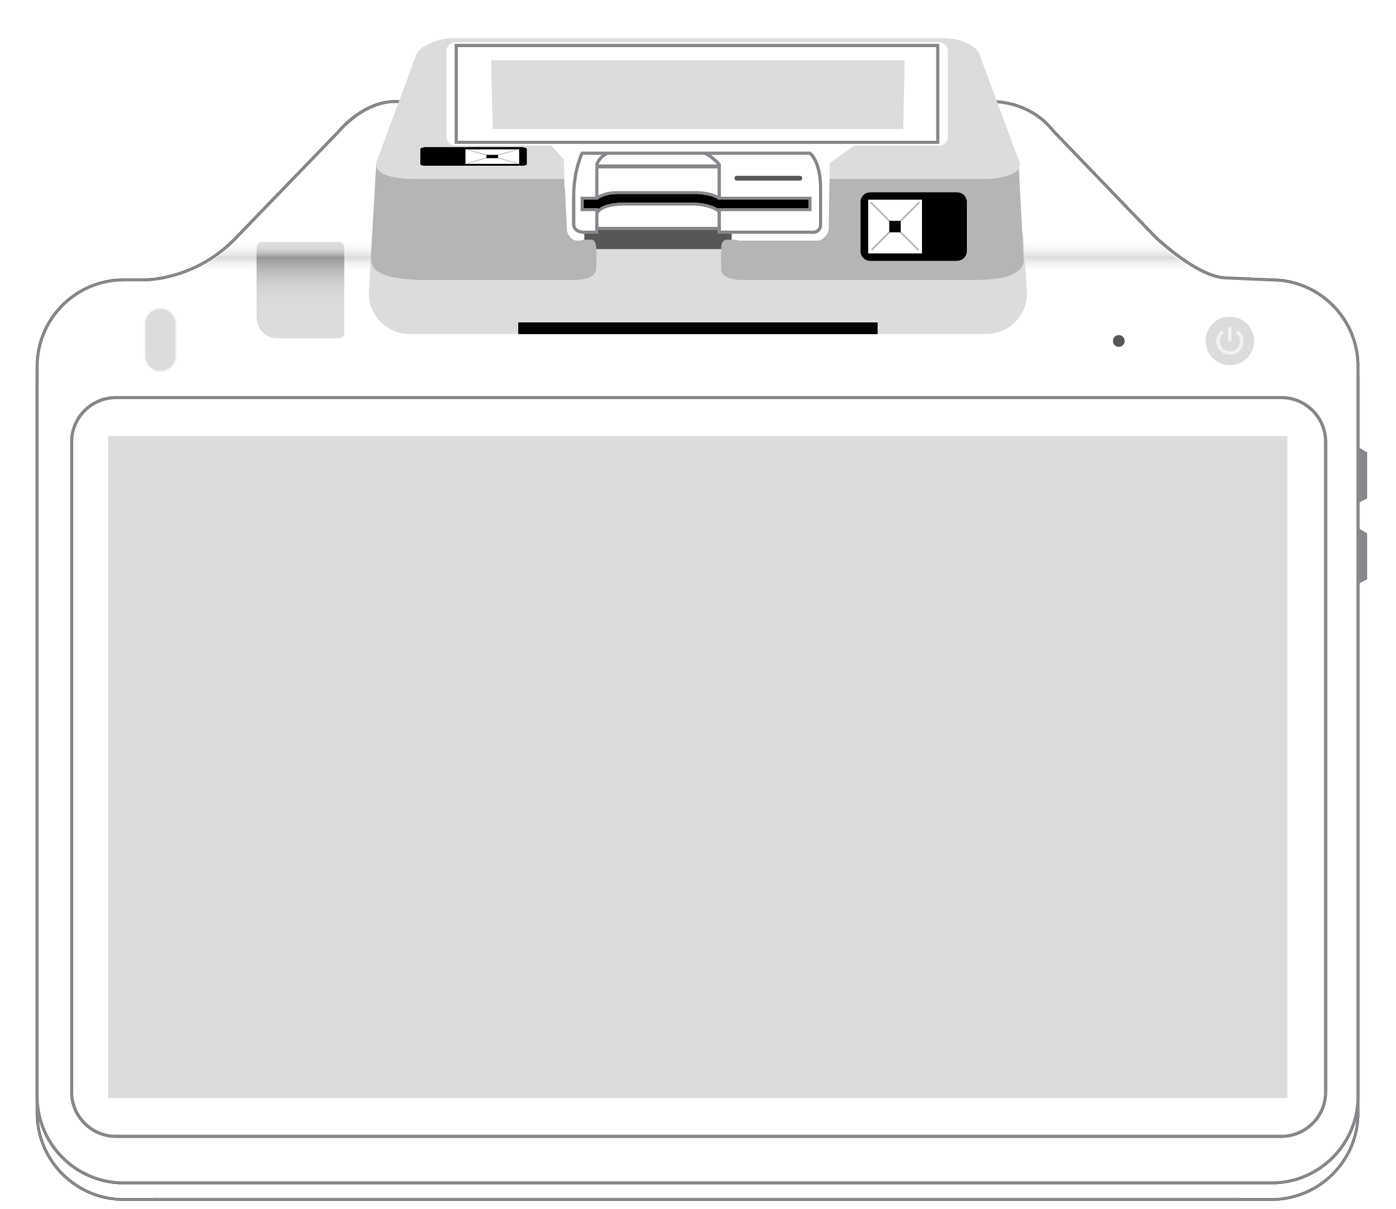
Built-in barcode scanner | ||||||
Built-in receipt printer | ||||||
Customer-facing second screen | ||||||
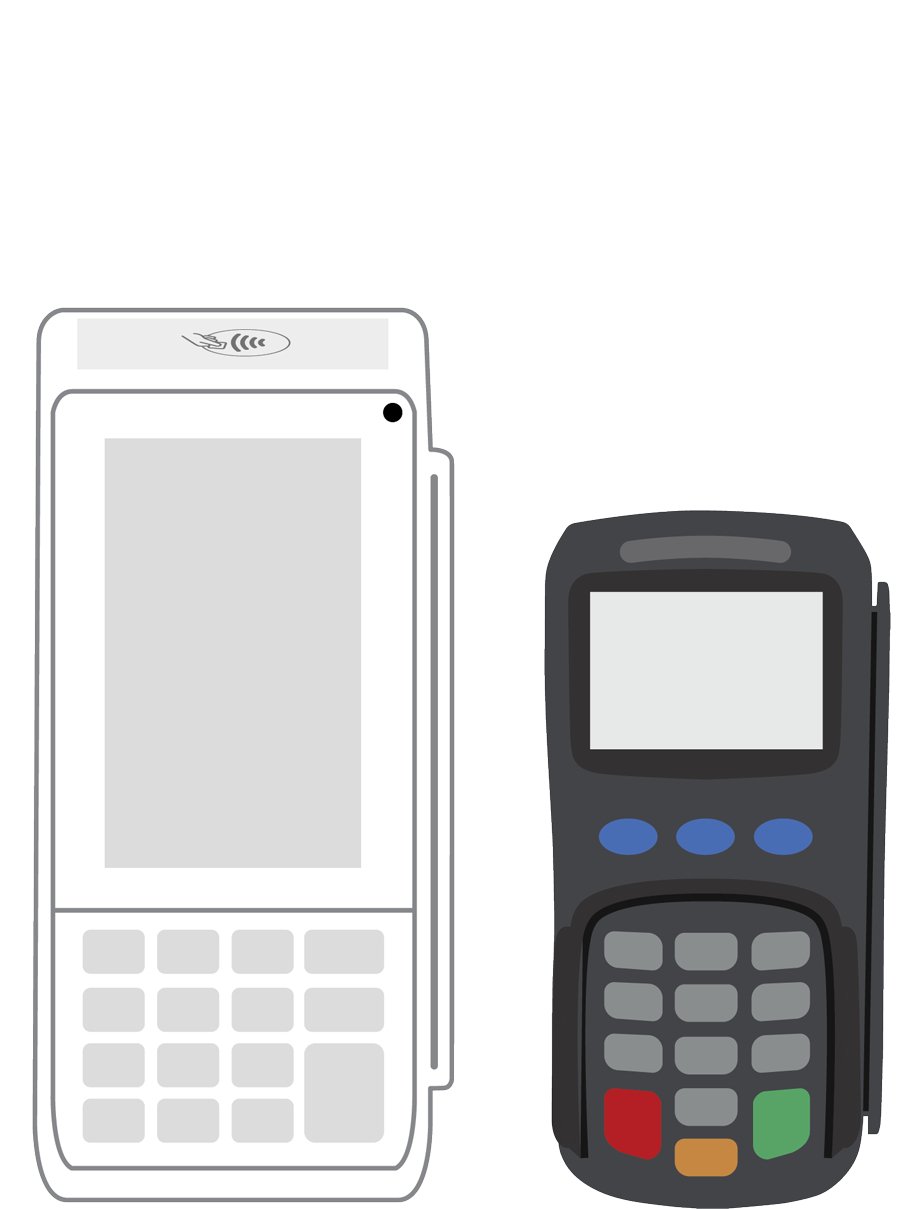
External pinpad | ||||||
Wireless use | ||||||
Network | ||||||
Ethernet connectivity | With dock | |||||
Wifi connectivity | ||||||
4G connectivity | ||||||
Pricing | ||||||
Free Placement | ||||||